Plywood bookcases are excellent DIY projects where one can get a functional piece of furniture along with the joy of accomplishment of making one’s own bookcase. Plywood is excellent to work with, being strong, cost-friendly, and easy to maneuver into any shape.
Step 1: Planning and Materials
One needs to plan the design of the bookcase before cutting and assembling the parts. Determine the size of the bookcase as it must fit where it should go. This helps one determine the number of shelves one wants. A bookcase is usually about 30-36 inches in width, 12-15 inches in depth, and 72-84 inches in height; however one can design as desired.
Material list
- ¾” plywood sheets for sides, top, bottom, shelves, and back
- 1×2 lumber for edge trim
- Wood screws or nails
- Wood glue
- Sandpaper
- Wood filler (if needed)
- Paint or stain (to use as a finish)
- L-brackets or shelf supports
Tools: saw, drill, tape measure, level, clamps, paintbrush, and safety gear
Step 2: Cutting the Plywood
Upon gathering the plywood sheets, one can take measurements and mark where one will cut. For a simple bookcase, one will need the following:
- 2 side panels: These should be the full height of the bookcase, ideally around 72 inches.
- 1 up panel and 1 down panel: They should be the same width as the bookcase, approx 30-36″.
- Shelves: The number of shelves that one needs determines how tall each shelf should be. Placing them about 12-15″ apart is ideal.
- Back panel: This can be made of thinner plywood (such as ¼”) to give it the needed structure for support.
All cutting should be done with a circular saw or table saw. Safety glasses and gloves are strongly recommended to be used when cutting.
Step 3: Sanding and Preparing the Pieces
Once cut, all edges and surfaces must be sanded from the pieces of plywood, and all rough spots and splinters rubbed off. Begin with coarse grit (about 80-100) and then switch to finer grit (150-220 for fine smoothing of the wood). Make use of wood filler wherever defects have been found. Allow the area to dry well before using.
Step 4: Assembling the Frame
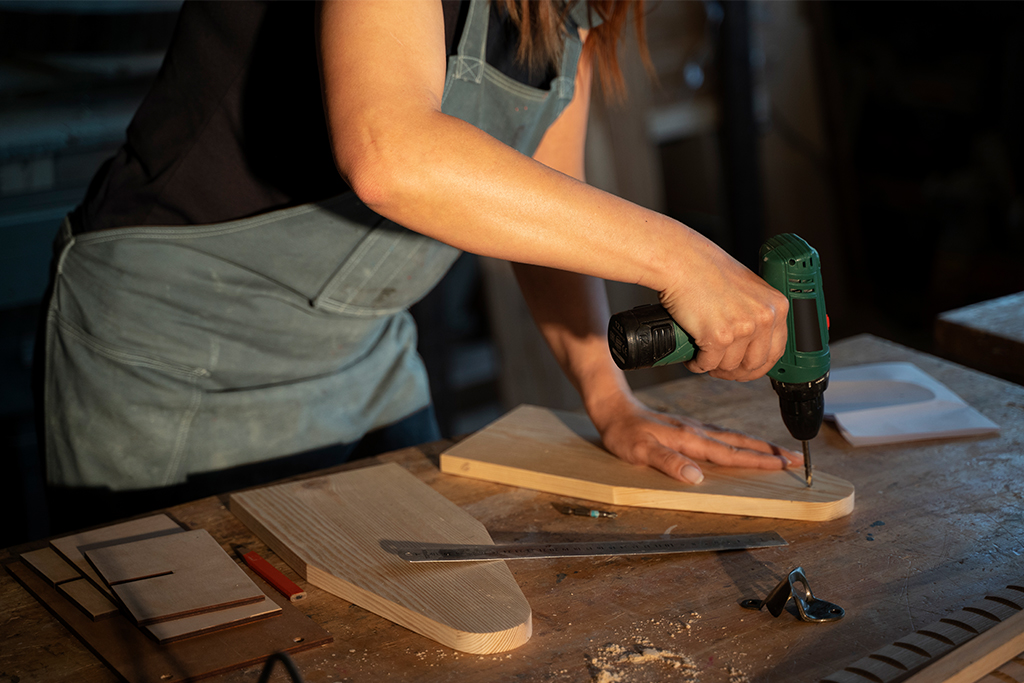
Attach the top and bottom panels to the side panels. Wood glue must be applied at the edges on the edges where the panels would meet and secure them using screws or nails. One may apply clamps to hold the pieces in place until the glue dries. A carpenter’s square and level are crucial to ensure the frame is square. Once the glue is set, reinforce the joints by driving screws through the sides into the top and bottom panels. This will actually strengthen the structure so that it will hold the books. After this, decide where each shelf must be placed to allow for sufficient space between them for easy placement of books. If one is attaching shelves, drill holes in the inside edges of the side panel to support shelf pins or L-brackets. For a fixed shelf, apply wood glue to the edge of each shelf and attach them to the side panel using screws or nails. After this add pocket holes to attach the shelves to the side panels for extra strength and cover the screws, giving it a clean professional look.
Step 5: Attach the Back Panel
Once the shelves are installed, fit the back panel to the bookcase. Place the bookcase upside down, position the back panel over the frame, and then put wood glue on the edges of the back panel and nail or screw it into place to ensure it doesn’t wobble and serves the overall design alone.
Step 6: Applying Edge Trim
Add a plywood edge trim on the exposed edges of your bookcase. This ensures all raw edges are covered up to give it a neat and polished finish. Cut 1×2 lumber into the desired lengths and apply wood glue and finishing nails to attach to the front edges of your sides, top, and shelves. Be sure to smooth out any rough edges for a smooth finish.
Step 7: Finishing the bookcase
All parts are assembled, and the bookcase is ready to be finished. One must apply a coat of primer for a better finish. Allow the primer to dry completely after it’s applied. Then apply 2 to 3 layers of paint on it after each layer dries up.
If one wants a more natural wood finish, one can stain it. After drying out the stain, apply a clear polyurethane coat for a nice wood protection finish.
Step 8: Assemble the Bookcase
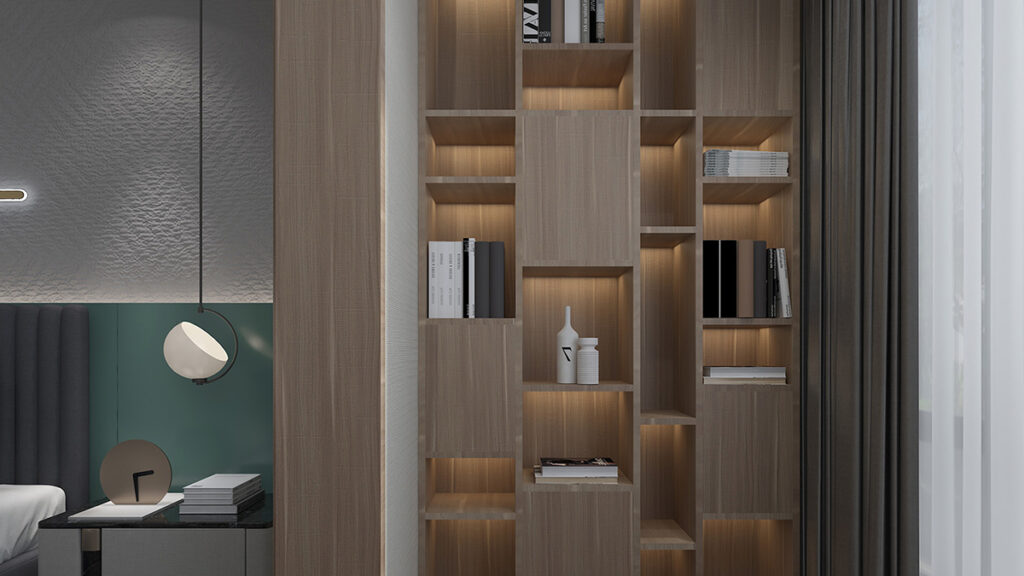
Secure the bookcase by driving some screws through the top and bottom of each shelf into the case sides. The bookcase should look like the one shown below. If the bookcase is tall, it’s good to secure it to the wall so it will not topple. One can use L- brackets or anti-tip hardware attached to the bookcase with the backing to the wall studs. This is especially important if there are small children or pets at home, or one lives in an area prone to earthquakes.
Step 9: Dressing It Up and Using Your New Bookcase
Once the bookcase is built, fill it with books, decorative items, and anything else one would like to showcase on it. This plywood bookcase, with clean lines and simple elegance, can be used in any room. Add colorful books, plants, photo frames, and artwork to give this bookcase an ending that is personal and welcoming.
A good plywood bookcase is a very rewarding DIY project that results in a bespoke piece of furniture which is functional and stylish. Follow all the steps given to make your own beautiful, long-lasting bookcase that would add elegance and grace to any home with the proper materials, tools, and patience.


